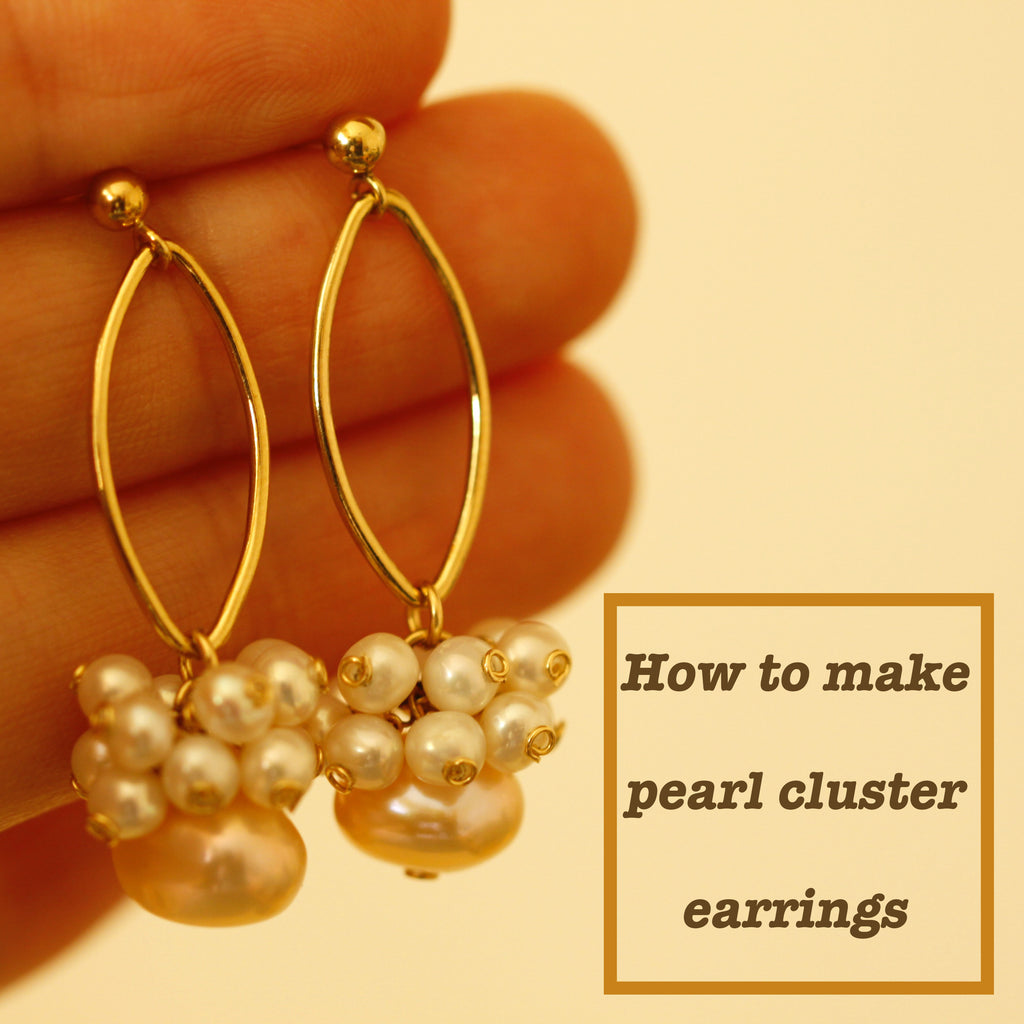
Simple jewelry DIY Project 1 - how to make pearl cluster earrings

Today we are going to explore how to make a simple yet classic pearl cluster earrings. Bead cluster is widely used in handmade earring designs. If you are a jewelry making beginner, this is a great tutorial for you to get started.

Materials:
- 24 3.5mm round pearls
- 2 8mm round pearls
- 28-gauge jewelry wire
- 4 jump rings
- 2 20*9mm oval shape connectors
- 2 earring posts
Step 1. Make head pins using jewelry wire
Bead cluster consumes head pins like nothing else. For each bead, no matter how small they are, one head pin has to go with it. It can be quite expensive when adding up the cost, especially when you using gold filled or sterling silver.
Therefore, today I am going to show you a simple way to make headpins using jewelry wire (picture 2-7)
1. Using the tip of your round nose plier, make a tiny circle at the end of the wire (picture 2).
2. Bend the wire perpendicular to the circle with a flat nose plier (picture 3).
3. Using a flat nose plier, bend the circle back to the wire (picture 4 and 5).
4. Cover half of the circle with a flat nose plier, bend the wire perpendicular to the circle one more time (picture 6 and 7).
The headpins showing in the tutorials are really small. The picture below is an enlarged headpin I made to help you to see it clearly.
Step 2. Make the pearl cluster earrings
Take 3.5mm pearls through the headpins we just made (picture 8). Make a wire wrapped loop at the other end (picture 9). If you don't know how to make a wire wrapped loop, read my tutorial Jewelry Making Basics.
Close the wire wrapped loop for two pearls and keep one open (picture 10). Then connect the three of them together using the open loop (picture 11 and 12).
Make 4 sets of pearls like this and 1 large pearl with wire wrapped loop (picture 12). Connect them all to a jump ring. Choose a relatively large jump ring so you won't run out of the space.
When you connect three pearls to the jump ring, make sure you choose the loop in the middle (the loop that has two other loops connected to it). See the picture below.

Step 3. Finish the pearl cluster earrings
After your pearl cluster is ready (picture 16), add another jump ring to the center of the cluster so you can attach another element. In this design, I chose an oval shape connector. You can definitely use other shapes and see how it works.
At last, attach earring posts to the connector. Your pearl cluster earrings are complete!
Hope you enjoy this design and come up with your own version of cluster earrings. Happy crafting!


